
If you keep searching how to boil eggs perfectly easy peel, you’re probably tired of shells that cling, tear up the whites, and turn a simple snack into a mess.
The good news is “easy peel” isn’t luck, it’s a repeatable setup: consistent heat, the right timing for your preferred yolk, and a fast chill so the egg separates cleanly from the shell.
I’ll walk you through a reliable stovetop method, show small adjustments for different egg ages and sizes, and include a timing table you can screenshot for later.
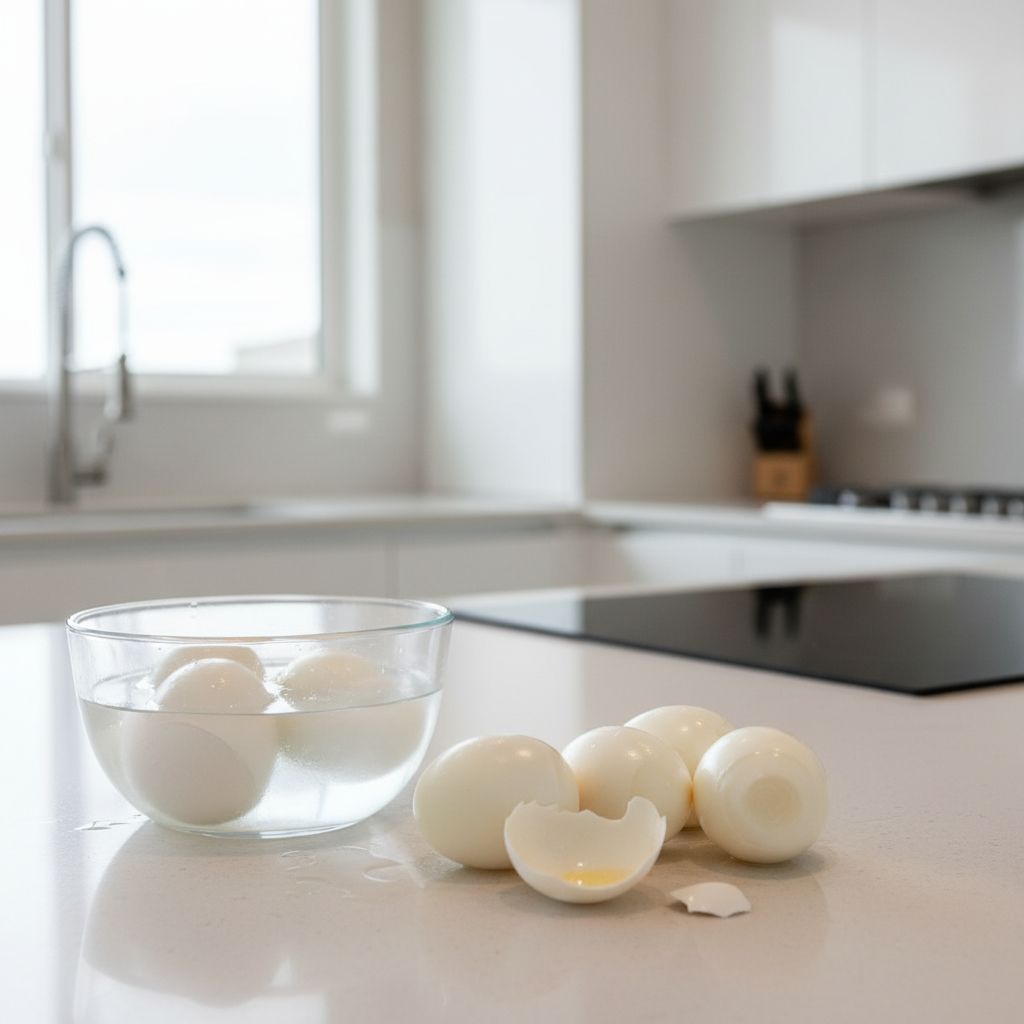
Why eggs stick to the shell (and what “easy peel” really depends on)
Most peeling frustration comes from the membrane under the shell gripping the cooked white. When that bond stays tight, the white tears and you get those cratered eggs.
In real kitchens, “easy peel” usually depends on a few variables working together, not a single magic trick:
- Egg freshness: very fresh eggs can be harder to peel; eggs that have rested a few days often cooperate more.
- How quickly you stop the cook: a fast chill helps the egg contract slightly and release from the shell.
- How you start heating: starting in boiling water versus cold water can change how the membrane sets.
- Peeling technique: cracking all around and using water to get under the membrane matters more than people think.
One more thing people miss: if you overcook, you can still peel easily, but the texture suffers. The goal is easy peel plus the yolk texture you actually want.
The most reliable stovetop method for perfect easy peel eggs
This is the approach I recommend when someone wants consistent results without special gadgets. It’s also the method that tends to satisfy the “how to boil eggs perfectly easy peel” goal with the fewest moving parts.
Step-by-step
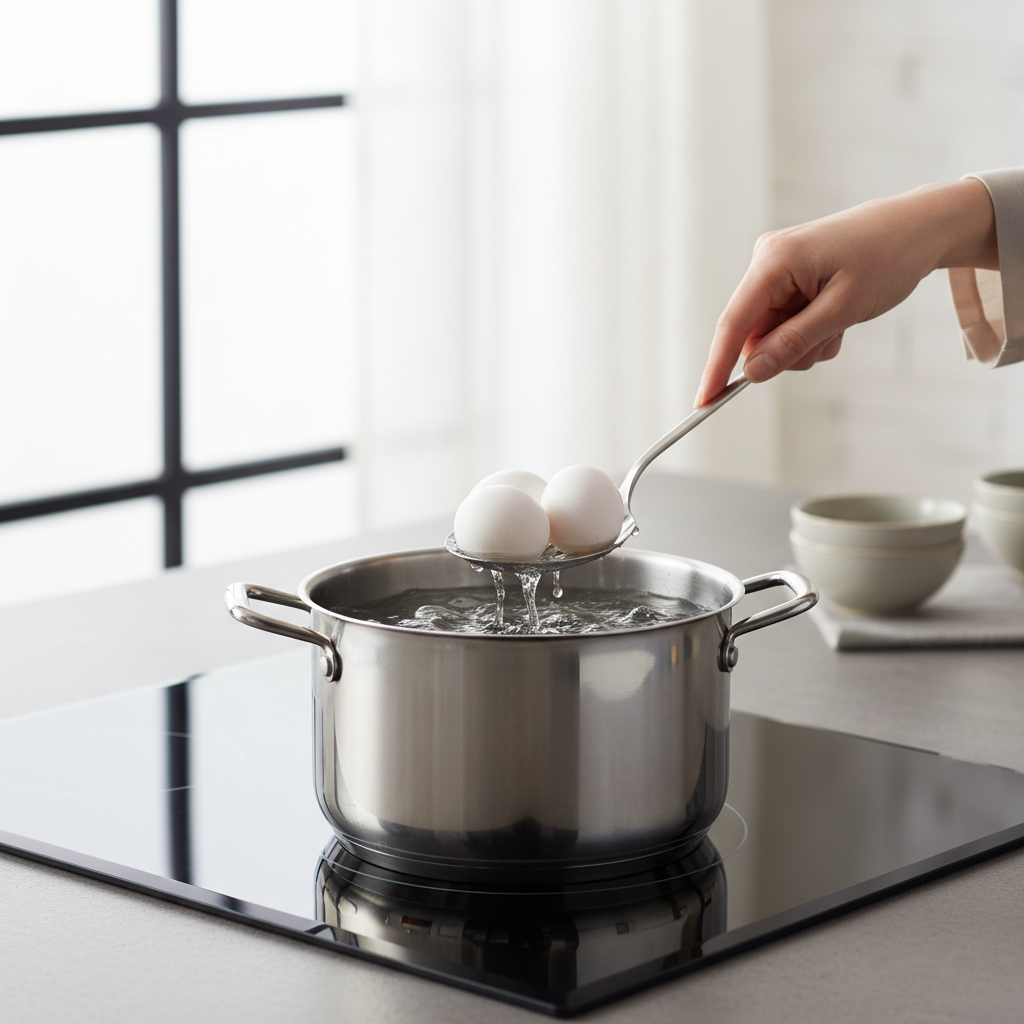
- Bring water to a full boil (enough to cover eggs by about 1 inch).
- Lower eggs in gently with a spoon, straight from the fridge is fine.
- Keep at a steady simmer, not an aggressive rolling boil that knocks eggs around.
- Start your timer as soon as the eggs hit the water again and it returns to a simmer.
- Move eggs to an ice bath immediately when time is up, chill 10–12 minutes.
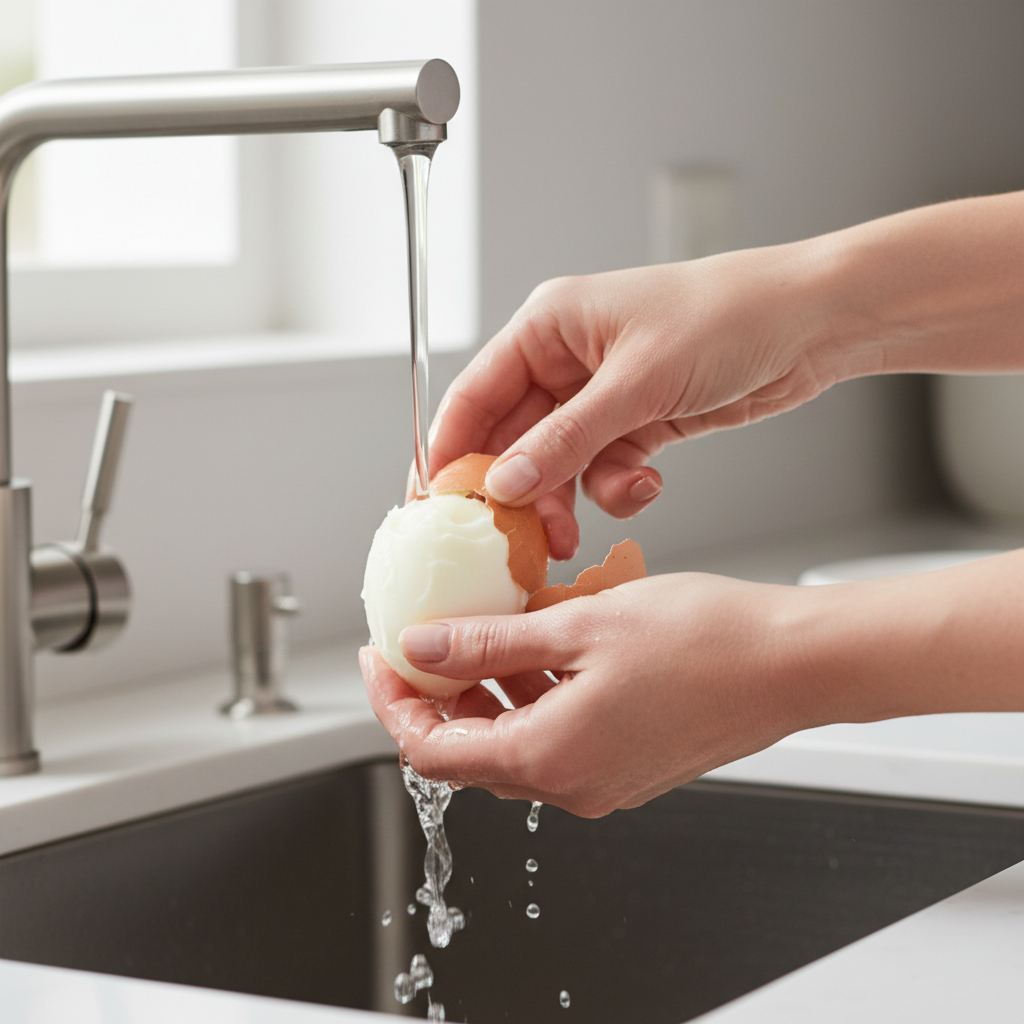
- Peel under running water or in a bowl of water, starting at the wider end where the air pocket usually sits.
According to USDA Food Safety and Inspection Service, eggs should be refrigerated promptly and hard-cooked eggs should be stored chilled and used within about a week; if you have health concerns, it’s sensible to check guidance with a qualified professional.
Boiled egg timing table (soft to hard, easy peel focus)
Times vary a bit by egg size, starting temperature, altitude, and how hard your “simmer” runs. Use this as a baseline, then adjust by 30–60 seconds next batch.
| Result | Yolk texture | Large eggs timing (boiling water start) | Ice bath |
|---|---|---|---|
| Jammy | Set edges, creamy center | 7–8 minutes | 10–12 minutes |
| Medium | Mostly set, slightly tender | 9–10 minutes | 10–12 minutes |
| Hard-cooked | Fully set, sliceable | 11–12 minutes | 10–12 minutes |
Key point: don’t skip the full chill. Warm eggs can feel “almost peelable,” then rip apart halfway through.
Quick self-check: what’s causing your peeling problems?
If you want to get to “how to boil eggs perfectly easy peel” without changing ten things, diagnose the most likely culprit first.
- Shells rip the whites every time: eggs are very fresh, or they weren’t chilled long enough.
- Whites feel rubbery, yolk looks gray-green: cooking time ran long, or the pot stayed too hot.
- Eggs crack in the pot: water boiled too hard, eggs banged together, or temperature shock was rough.
- Some peel fine, some don’t: inconsistent simmer, mixed egg sizes, or uneven chilling.
If you’re at higher altitude, water boils at a lower temperature and cook times often need a small increase, usually 1–3 minutes depending on elevation.
Practical tweaks for different situations (fresh eggs, older eggs, big batches)
If your eggs are very fresh
Fresh eggs can be stubborn. If you can plan ahead, buy eggs a few days before you need perfect peelers. If you can’t, lean harder on technique: boiling-water start, full ice bath, and peel under water.
- Use boiling-water start rather than cold-water start.
- Extend ice bath to 12–15 minutes if needed.
- Crack the shell all over, then slide a spoon under the membrane to lift it in larger pieces.
If you’re making a dozen or more
Crowding causes bouncing, cracks, and uneven cooking. In many cases, two smaller batches beat one overloaded pot.
- Choose a wider pot so eggs sit in one layer if possible.
- Let water return to a simmer before starting the timer.
- Use a large ice bath so the water doesn’t warm up immediately.
If you want consistent “meal prep” results
Cook, chill, dry, then refrigerate. Peeling right before eating usually keeps the surface smoother.
- Store unpeeled eggs in the fridge and peel as needed.
- If you peel ahead, keep them in a sealed container with a slightly damp paper towel to reduce drying.
Common mistakes that waste eggs (even if your timing is right)
- Skipping the ice bath: cool water helps, but ice water typically works faster and more consistently.
- Boiling violently: it cracks shells and can create blowouts where whites leak.
- Peeling “dry”: water gets between membrane and white, that’s the whole advantage.
- Chasing hacks only: vinegar, baking soda, salt can help sometimes, but they’re not a substitute for chilling and technique.
If you want a single habit change, make it this: move eggs straight from hot water into a real ice bath.
Conclusion: a repeatable routine for clean shells and tender yolks
How to boil eggs perfectly easy peel comes down to a simple rhythm: start in boiling water, hold a steady simmer, pull them on time, then chill hard before you peel under water.
Try one batch using the table above, take a quick note on your exact time, then adjust by 30–60 seconds next round until the yolk looks the way you like. If you cook eggs often, that small calibration is what makes the process feel effortless.
Action step: set up the ice bath before you even touch the eggs, it’s the easiest win in the whole workflow.