
Steak recipes don’t fail because you “can’t cook,” they fail because a few small variables get ignored: steak thickness, surface dryness, pan heat, and timing. Fix those, and juicy steak becomes repeatable, not a once-in-a-while win.
This guide focuses on what actually works in most home kitchens, whether you’re using a cast-iron skillet, stainless pan, or a grill. You’ll get a simple method you can memorize, plus variations for different cuts and a doneness table you can keep on your phone.
If you’ve ever followed a recipe “exactly” and still ended up with a gray exterior or a dry center, you’re not alone. Most recipes under-explain the parts that matter, especially how to judge heat and doneness in real time.
Why steak turns out dry (and how to prevent it)
Juiciness isn’t luck, it’s moisture management and temperature control. These are the usual culprits when steak disappoints.
- Cooking straight from the fridge: the outside overcooks while the center catches up. You don’t need hours, but a short warm-up helps.
- Wet surface: moisture steams the meat, blocking a good crust. Pat dry longer than you think.
- Pan not hot enough: you get pale browning, then you keep cooking to “make it brown,” and the inside dries out.
- Too much flipping anxiety: leaving it untouched is fine, but you still need contact and even heat; flipping more often can actually cook more evenly in some cases.
- No rest time: cutting immediately lets juices run out. Resting is part of cooking, not an optional extra.
According to the USDA... you should use a food thermometer to ensure meat reaches safe internal temperatures, especially for anyone at higher risk for foodborne illness.
Quick self-check: what kind of steak situation are you in?
Before you pick a method, get clear on your setup. This is where most “same recipe, different result” frustration comes from.
- Thickness: under 1 inch, 1–1.5 inches, or 2 inches+?
- Cut: ribeye (fatty), strip (balanced), filet (lean), flank/skirt (thin and fibrous)?
- Tool: cast iron, stainless, nonstick, or grill?
- Goal: medium-rare center, or more cooked for preference?
- Time: weeknight fast, or you can wait for a reverse sear?
If your steak is thin (like skirt), your best move is fast high heat and a short rest. If it’s thick, you’ll usually get better results with a two-stage cook (oven + sear, or reverse sear).
The core method: pan-seared steak with butter basting
This is the backbone for a lot of great steak recipes because it works with common grocery-store cuts and standard stoves.
What you need
- 1–2 steaks, ideally 1 to 1.5 inches thick
- Kosher salt, black pepper
- High-smoke-point oil (avocado, canola, grapeseed)
- 2–3 tbsp butter (optional but helpful)
- Aromatics: garlic cloves, thyme/rosemary (optional)
- Instant-read thermometer
Step-by-step
- Dry and salt: Pat steak very dry, salt generously. If you have 30–60 minutes, salt and leave uncovered in the fridge for a drier surface and better browning.
- Warm slightly: Let it sit at room temp about 20–30 minutes while you prep. Not mandatory, but it reduces the “raw center” panic.
- Preheat pan: Heat pan until it’s very hot. Add oil, it should shimmer quickly.
- Sear: Lay steak down away from you. Don’t move it for 2–3 minutes, then flip. Sear the second side 2–3 minutes.
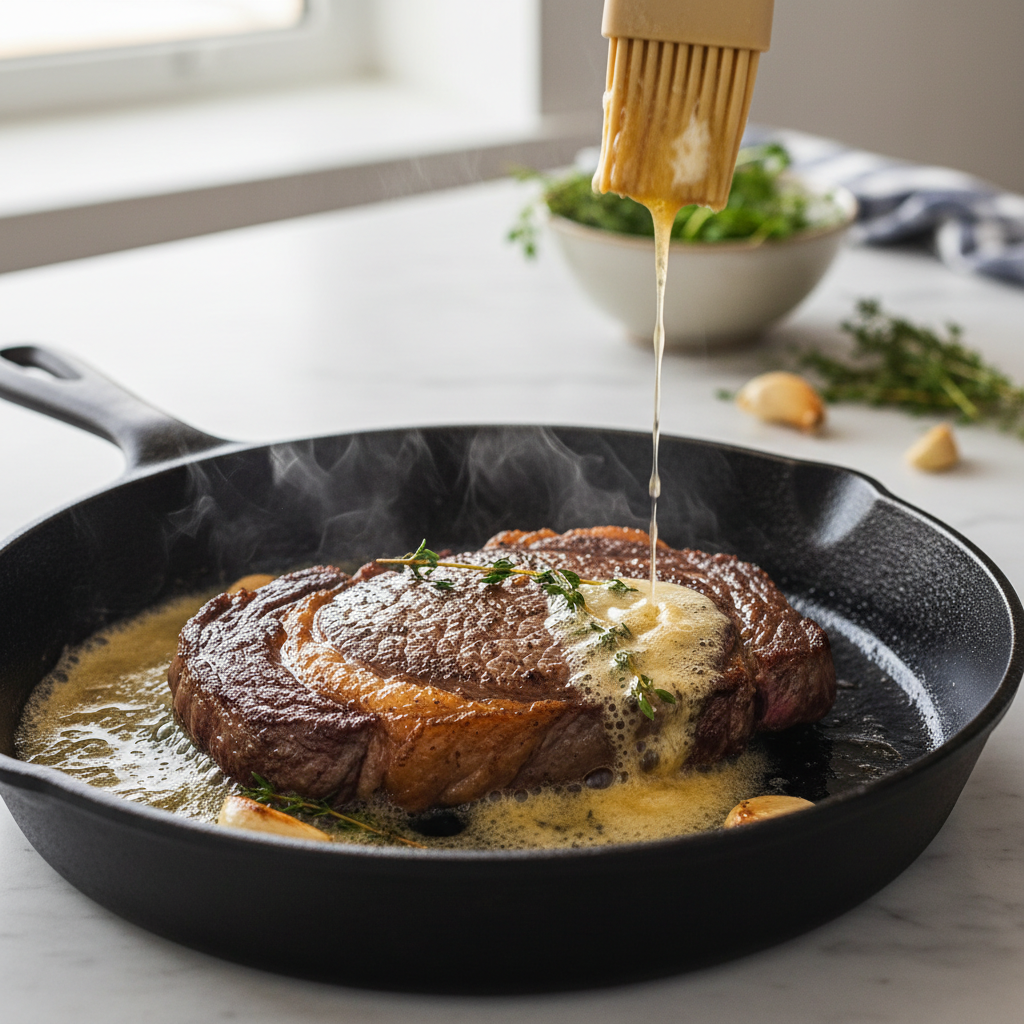
- Baste: Lower heat to medium, add butter and aromatics. Tilt pan and spoon butter over steak for 30–90 seconds.
- Check temperature: Pull before your target, it climbs during rest.
- Rest: Rest 5–10 minutes, then slice against the grain (especially for strip and flank-style cuts).
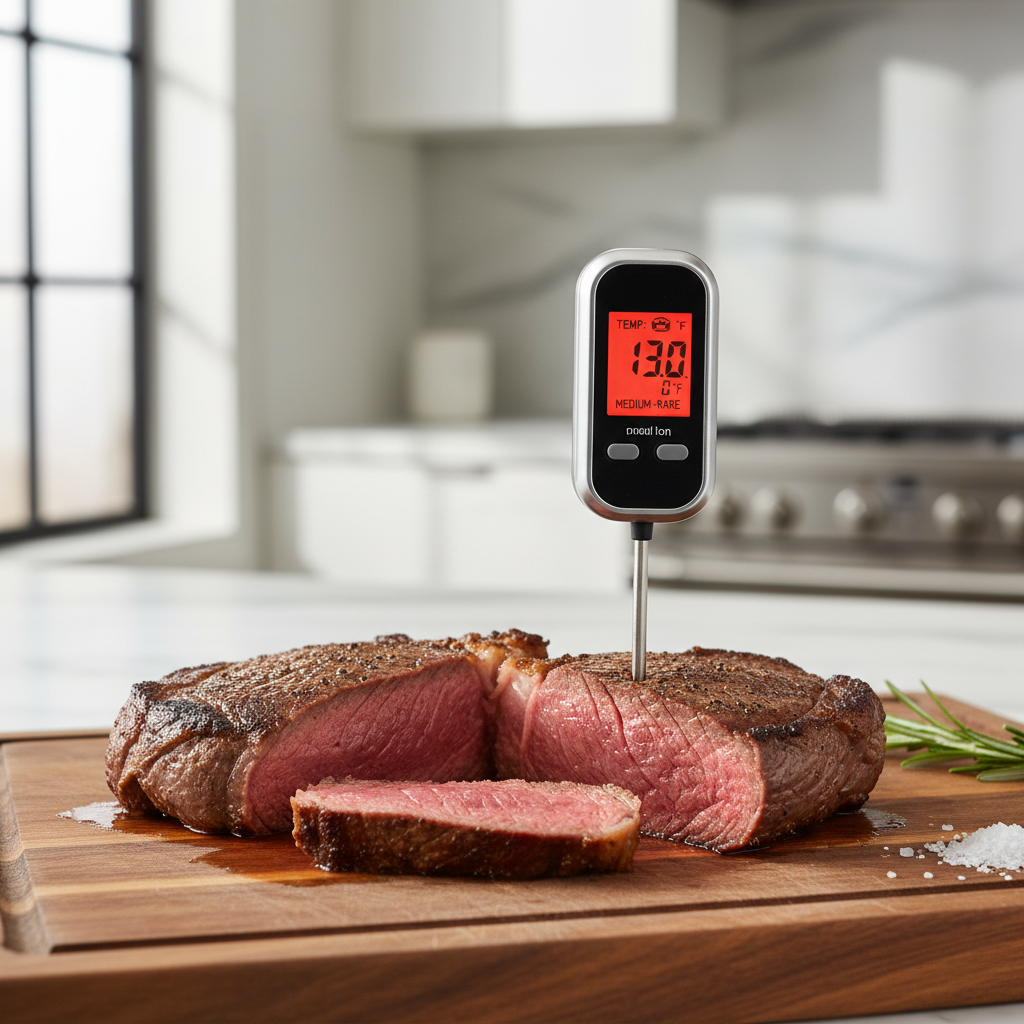
Key point: timing helps, but internal temperature is the real guardrail. Once you use a thermometer for a few cooks, you’ll trust your instincts more, not less.
Doneness targets and a simple timing table
Times vary with pan material, burner power, and steak shape, so treat this as a starting point. The temperature targets stay consistent.
Pull temps (carryover cooking will rise a bit during rest):
- Rare: pull at 120–125°F
- Medium-rare: pull at 125–130°F
- Medium: pull at 135–140°F
- Medium-well: pull at 145–150°F
- Well-done: pull at 155°F+
| Steak thickness | Pan-sear per side (high heat) | Finish / notes |
|---|---|---|
| 3/4 inch | 1.5–2.5 min | Often done after sear; watch temp closely |
| 1 inch | 2–3 min | Optional quick butter baste, then rest |
| 1.5 inches | 3–4 min | Baste 60–90 sec; may need brief low-heat finish |
| 2 inches | 4–5 min | Usually better with oven finish or reverse sear |
According to the USDA... ground meats generally need higher safe temperatures than intact steaks. For steak, many cooks aim for lower doneness for texture, but if you’re unsure, consider cooking to the temperature you’re comfortable with and consult a qualified professional for personal dietary needs.
Cut-by-cut tweaks (small changes, big payoff)
Different cuts behave differently. One “universal” approach is why many steak recipes feel inconsistent.
Ribeye
- Fat renders best with a little extra time on moderate heat after searing.
- Don’t be afraid to sear the fat cap by standing it on its edge for 20–40 seconds.
New York strip
- Great for the core pan-sear method; watch the thicker fat strip, it can insulate one side.
- Slice against the grain for a more tender bite.
Filet mignon
- Lean cut, so it dries faster; consider a quicker sear and earlier pull temp.
- Butter basting helps a lot here, even if you keep it simple.
Flank or skirt
- Cook hot and fast, then rest.
- Slicing against the grain matters as much as the cook.
Three reliable flavor routes (without complicating dinner)
If you’re trying to build a rotation of steak recipes, these patterns cover most cravings without needing a pantry overhaul.
- Classic steakhouse: salt, pepper, butter, garlic, thyme. Simple, loud flavor.
- Southwest-ish: salt, pepper, cumin, smoked paprika; finish with lime and chopped cilantro.
- Herb-mustard finish: sear normally, then brush with Dijon + minced herbs during rest.
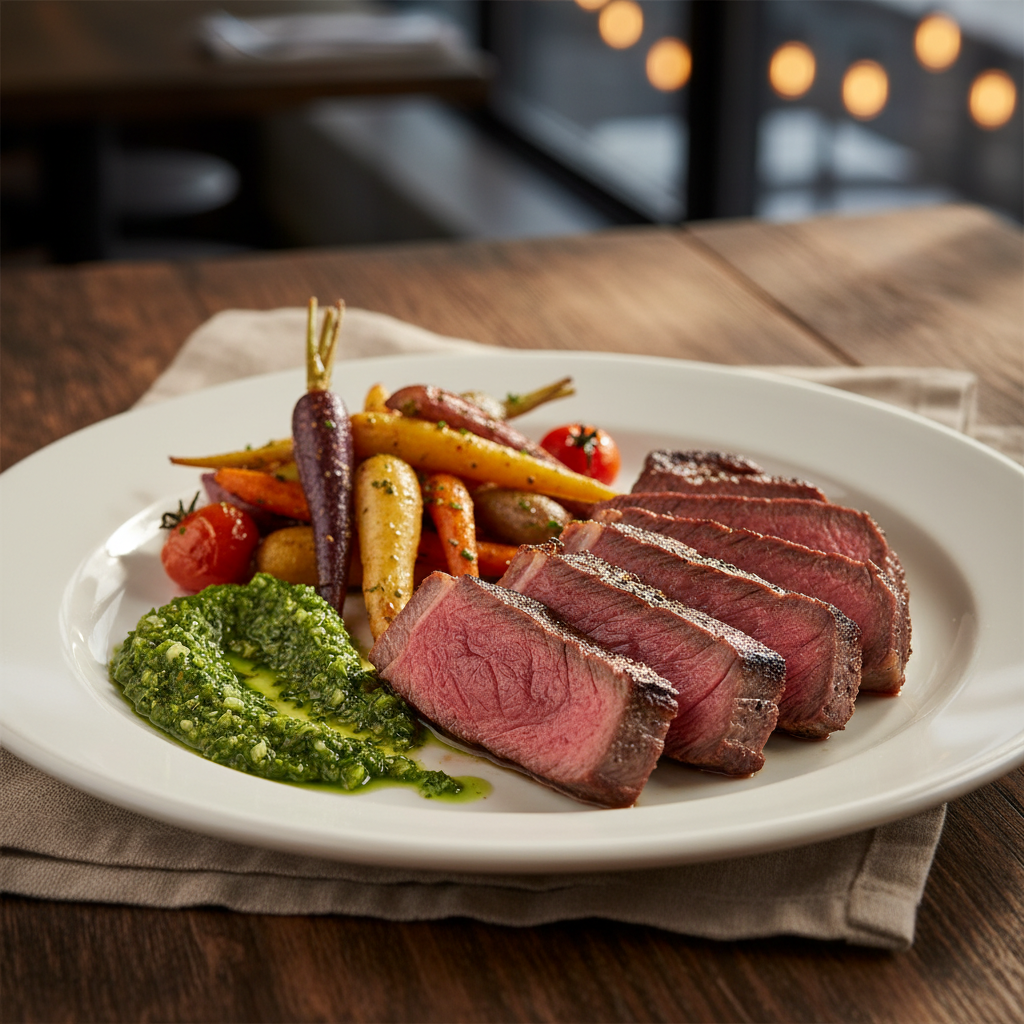
Key takeaway: pick one “base method” you trust, then vary the finish. That’s how weeknight steak stays interesting without turning into a project.
Common mistakes that keep repeating
- Overcrowding the pan: it drops heat, you steam instead of sear. Cook in batches if needed.
- Using extra-virgin olive oil for high heat: it can smoke quickly. Choose a higher smoke-point oil for the sear, add butter later.
- Pressing the steak: you push juices out and don’t “help it cook.” Let heat do the job.
- Relying on color alone: lighting and seasoning change how doneness looks. Temperature beats guessing.
- Skipping the rest: even 5 minutes makes a noticeable difference in how juicy the slices feel.
When it’s worth getting help (or upgrading one tool)
If you consistently miss your target doneness, an instant-read thermometer is the most practical “professional” move for home cooking. It removes a lot of stress and food-safety ambiguity.
If you’re cooking for someone pregnant, immunocompromised, or otherwise higher-risk, it’s smart to follow conservative food-safety guidance and consider asking a qualified professional for personalized advice. Many steak recipes online don’t mention that context, but real kitchens do.
Practical game plan for your next steak night
- Buy 1–1.5 inch steaks for the easiest learning curve.
- Salt early if you can, pat dry right before cooking.
- Preheat pan properly, then trust the sear.
- Use temperature as your finish line, not the clock.
- Rest, then slice thoughtfully.
If you do only two things differently, make them these: dry the surface well and pull based on temperature. Most juicy results follow naturally.
FAQ
What are the best steak recipes for beginners?
Look for a pan-seared method with clear temperature targets. Beginners do better with ribeye or strip because they’re forgiving compared with very lean cuts.
How do I keep steak juicy without marinating?
Focus on surface dryness for a fast sear, then stop cooking at the right internal temperature and rest. A marinade can add flavor, but it won’t fix overcooking.
Should I salt steak right before cooking or ahead of time?
Either can work. Right before cooking is fine for convenience, but salting 30–60 minutes ahead often improves browning and seasoning penetration.
Is it better to cook steak in butter or oil?
Use oil for the high-heat sear, then add butter for basting. Butter alone can brown too quickly at searing heat in many pans.
How do I cook a 2-inch steak without burning the outside?
Use a two-step approach: either sear then finish in a low oven, or reverse sear (low oven first, quick sear last). Thick steaks punish “all sear, all the time.”
Why does my steak come out gray instead of browned?
Usually it’s a wet surface or a pan that never got hot enough. Pat dry thoroughly and preheat until the oil shimmers quickly before the steak goes in.
Do I really need to rest steak?
In most cases, yes. Resting helps juices redistribute, so the first cut doesn’t flood the board and leave the meat tasting drier.
If you’re building a weeknight routine and want steak recipes that feel consistent, start with one base method and a thermometer, then rotate sauces and sides. It’s the simplest way to get “juicy every time” without turning dinner into a science project.